Two customers return the same item and get two different outcomes — one is refunded in three days, the other waits two weeks because nobody checked the return window before issuing a label. That inconsistency erodes trust and clogs your warehouse with items that should never have shipped back. A return process flowchart fixes it by making the path explicit: request, check eligibility, ship back, inspect, refund — the same way every time.
This guide maps a complete return and refund process you can adapt, plus the common branches and the mistakes that quietly break a returns workflow. For the format basics, see What Is a Flowchart?.
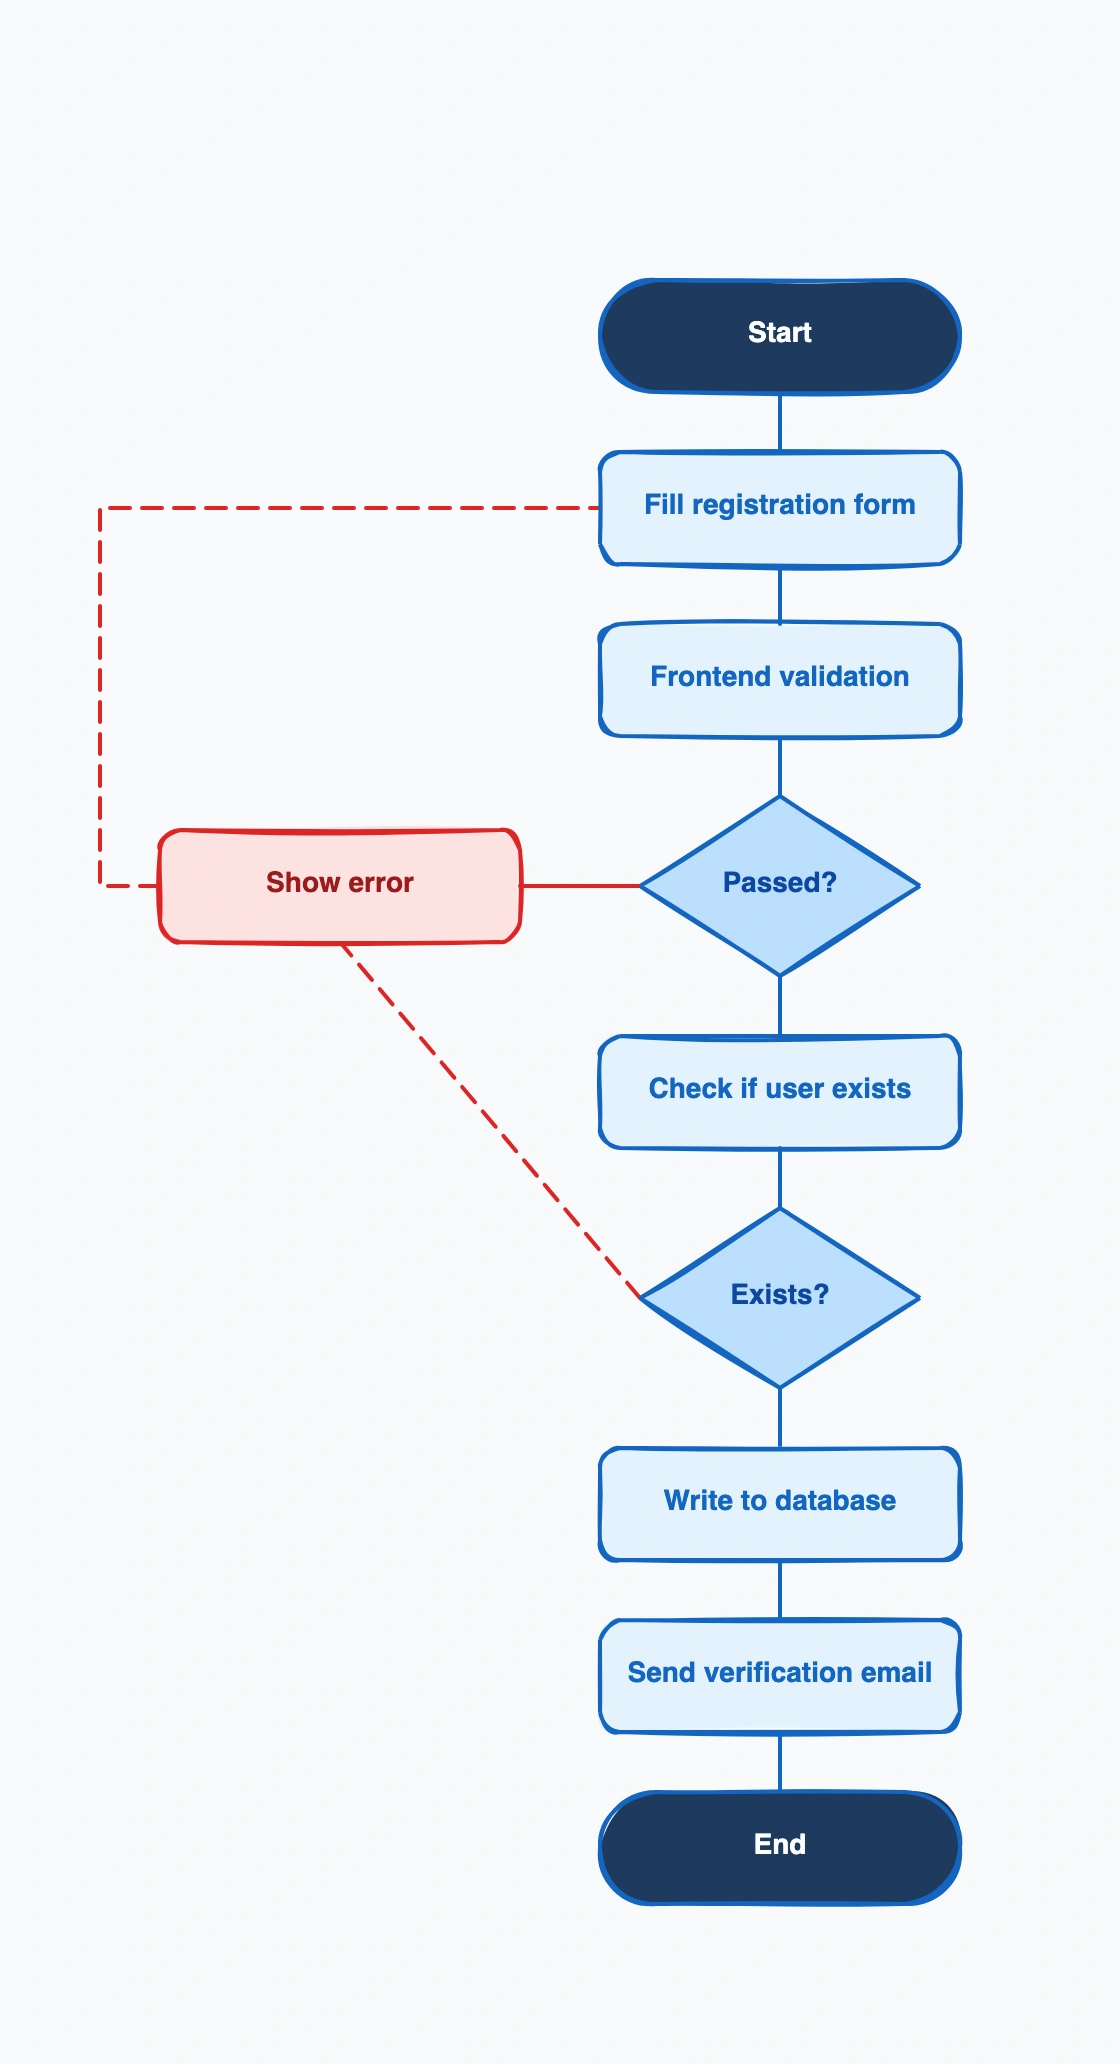
The Return Process, Step by Step
Here is a standard return and refund flow. Each numbered step is a shape in the diagram; the decisions are where it branches.
1. Customer initiates a return request. The entry point — a customer requests a return through your portal, email, or support. This is the Start terminator.
2. Within return window? (decision). "Is the request inside the allowed return period?"
- Yes → continue to the conditions check.
- No → reject the return with a clear reason (or route to manual review for an exception).
3. Meets return conditions? (decision). "Does the item qualify — unopened, undamaged, or a genuine quality defect?"
- Yes → proceed to generate the return authorization.
- No → reject or send to a human agent to review the case.
4. Generate RMA and return label. Issue a Return Merchandise Authorization number and a prepaid or instructional return label so the warehouse can track the incoming package.
5. Customer ships the item back. The customer packs and sends the item using the label. The return stays open and tracked until it arrives.
6. Warehouse receives and inspects (decision). "Is the item's condition OK?"
- Yes → continue to refund or exchange.
- No → route to manual review (partial refund, restocking fee, or rejection with photos).
7. Refund or exchange. Process the refund to the original payment method, or ship a replacement if the customer chose an exchange.
8. Notify the customer. Send confirmation of the refund amount or the exchange shipment, with tracking where relevant.
9. Complete. Close out the return, tag the reason code, and record the outcome. This data feeds back into reducing future returns.
Those three decision points — the return window, the conditions check, and the inspection — are what separate a real returns flow from a rubber stamp. Open the flowchart maker to draw this process and adapt it to your policy.
Common Variations
Not every store handles returns the same way. A few common branches to add:
- Exchange vs. refund. Add an early "Refund or exchange?" decision so exchanges branch to a replacement shipment instead of the refund path.
- Quality-defect free shipping. Branch on "Is it a quality defect?" — defects get a prepaid label and waived restocking fee; change-of-mind returns may pay return shipping.
- Out-of-window exception. The "No" branch of the return-window check doesn't have to be a hard reject — route it to a manager for a discretionary approval.
- Partial refund. When inspection finds the item used or missing parts, branch to a partial refund with the deduction explained, rather than a full refund or outright rejection.
Common Mistakes
No inspection branch. Refunding the moment a package arrives — before checking its condition — invites fraud and write-offs. Real returns have a "Condition OK? → No" branch.
No return-window check. If every request flows straight to a label, you accept returns months past policy. Put the window decision first.
Auto-refund with no review. Fully automating the refund with no human checkpoint for edge cases means damaged or wrong items get refunded anyway. Keep a manual-review branch.
Unlabeled decision branches. Every diamond ("Within window?", "Condition OK?", "Refund or exchange?") needs labeled exits, or staff guess and the flow breaks.
Frequently Asked Questions
What is a return process flowchart?
A return process flowchart maps how a return moves from a customer's request to the final refund or exchange — eligibility checks, RMA generation, warehouse inspection, and notification — so every return is handled consistently.
How do you show a rejected return in a return flowchart?
Use a decision diamond like "Within return window?" or "Meets return conditions?" with a "No" branch that routes to a rejection step with the reason given, or to manual review, instead of continuing to the refund path.
Ready to map your own returns process? Open the flowchart maker and start from a flowchart template — adapt the eligibility checks, inspection, and refund steps to your policy, no signup required.
Related Reading
- Types of Flowcharts — process, swimlane, and more
- What Is a Flowchart? — the format basics
- How to Make a Flowchart — the general tutorial
- Flowchart Symbols Guide — every shape explained